Get started with CMake Tools on Linux
CMake is an open-source, cross-platform tool that uses compiler and platform independent configuration files to generate native build tool files specific to your compiler and platform.
The CMake Tools extension integrates Visual Studio Code and CMake to make it easy to configure, build, and debug your C++ project.
In this tutorial, you'll use the CMake Tools extension for Visual Studio Code to configure, build, and debug a simple C++ CMake project on Linux. Aside from installing CMake, your compiler, debugger, and build tools, the steps in this tutorial apply generally to how you'd use CMake on other platforms, like Windows.
If you have any trouble, please file an issue for this tutorial in the VS Code documentation repository. Also, for more information about CMake Tools in general, see CMake Tools for Visual Studio Code documentation
Prerequisites
To complete this tutorial on Ubuntu, install the following:
-
C++ extension for VS Code. Install the C/C++ extension by searching for 'c++' in the Extensions view (
Ctrl+Shift+X).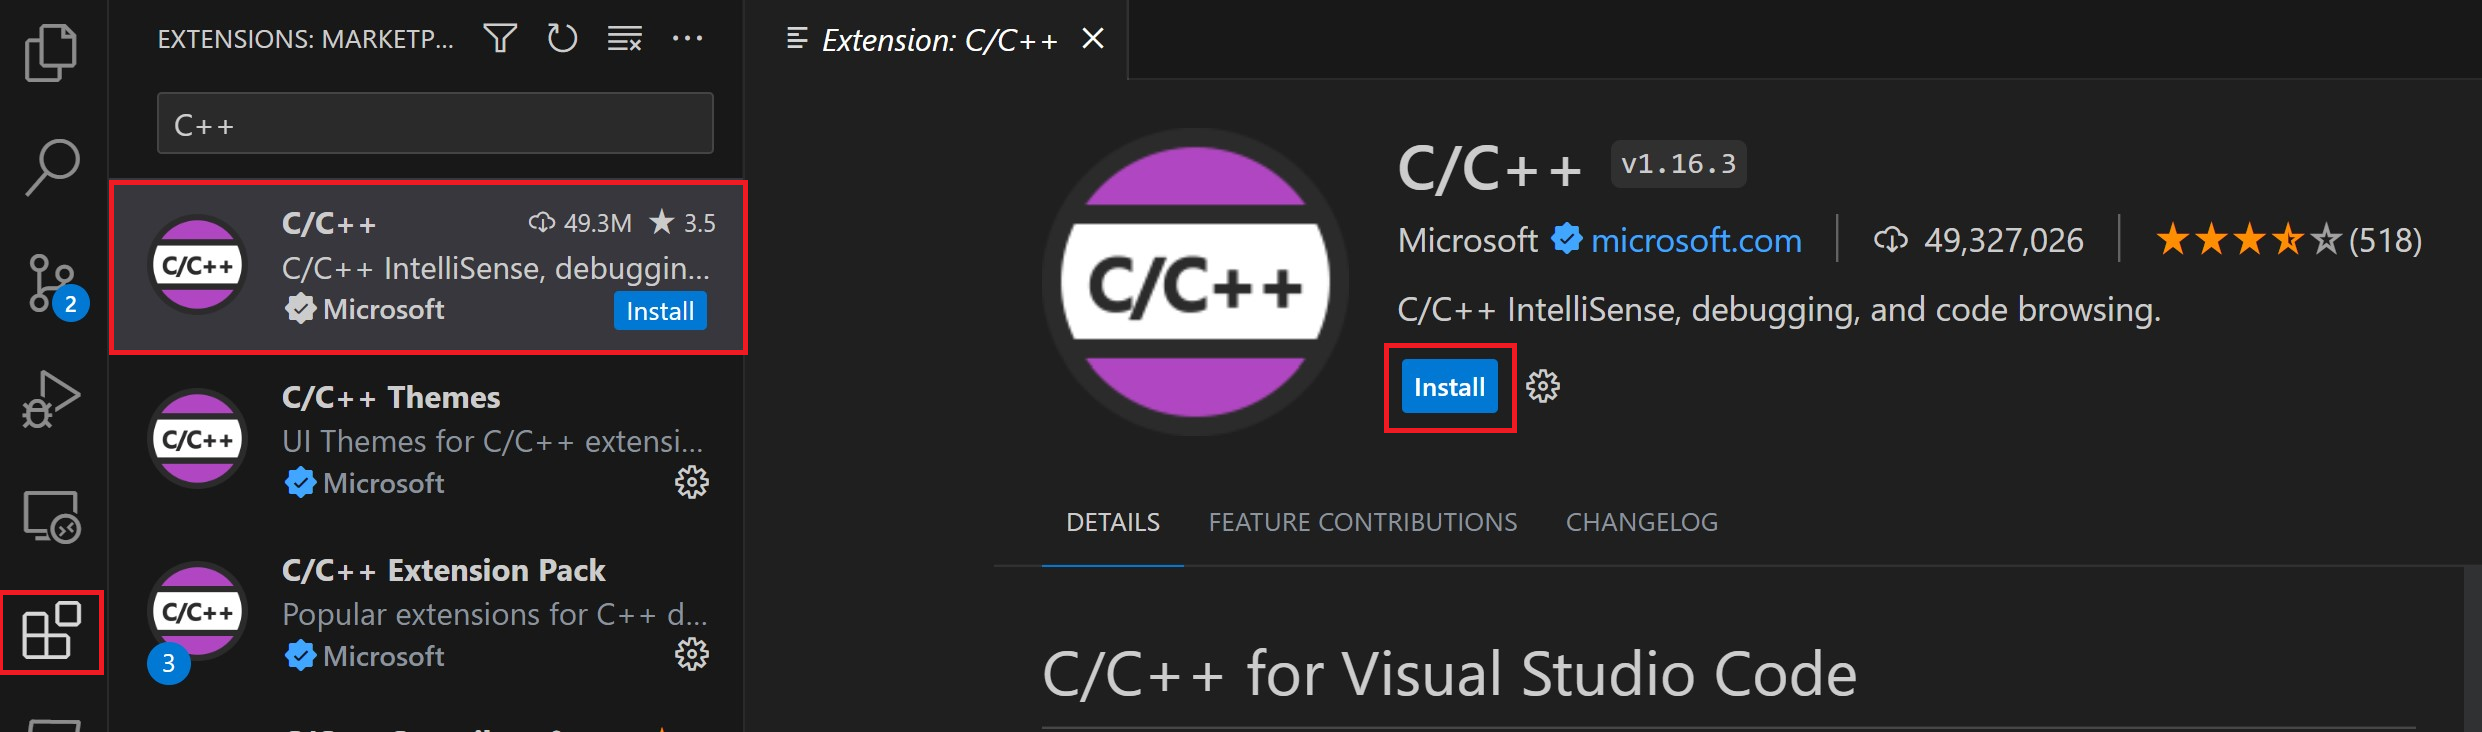
-
CMake Tools extension for VS Code. Install the CMake Tools extension by searching for 'CMake tools' in the Extensions view (
Ctrl+Shift+X).
-
You'll also need to install CMake, a compiler, a debugger, and build tools.
Video: What is a build system? How do you add CMake to your project?
Watch this video to understand when a build system will help you and how to set up CMake for your project, or follow the steps in the following sections.
Ensure that CMake is installed
The VS Code CMake Tools extension does its work by using CMake installed on your system. For best results, use CMake version 3.27 or greater.
See if CMake is already installed on your system. Open a Terminal window and enter the following command:
cmake --version
To install CMake, or to get a later version if you don't at least have version 3.27, see the instructions for your platform at Kitware APT Repository. Install version 3.27 or greater.
Ensure that development tools are installed
Although you'll use VS Code to edit your source code, you'll compile and debug the source code using the compiler, debugger, and build tools (such as make) installed on your system.
For this tutorial on Ubuntu, we'll use the GCC compiler, GDB to debug, and make to build the project. These tools are not installed by default on Ubuntu, so you need to install them. Fortunately, that's easy.
Check if GCC is installed
To see if GCC is already installed on your system, open a Terminal window and enter the following command:
gcc -v
If GCC isn't installed, run the following command from the Terminal window to update the Ubuntu package lists. An out-of-date Linux distribution can interfere with getting the latest packages.
sudo apt-get update
Next, install the GNU compiler, make, and the GDB debugger with this command:
sudo apt-get install build-essential gdb
Create a CMake project
If you do not have an existing CMake project, follow the steps in Create a CMake project.
If you already have an existing CMake project that has a CMakeLists.txt file in the root directory, continue to Configure Hello World to configure your project.
Configure Hello World
Before you can use the CMake Tools extension to build a project, you need to configure it to know about the compilers on your system. There are two ways to configure CMake in VS Code:
- Use CMake Presets (recommended)
- Use CMake Kits/Variants
Configure using CMake Presets
We recommend using CMake Presets for managing your CMake configurations. CMake Presets enable you to specify a common JSON file, where you store all the configurations for your project. You can then share this file with others, across different IDEs, and across different operating systems.
If you created a project by following the step in Create a CMake project, your project is configured to use CMake Presets.
If your project has a CMakePresets.json file, you can use the Configure and Build presets for specifying how to build your project on your machine.
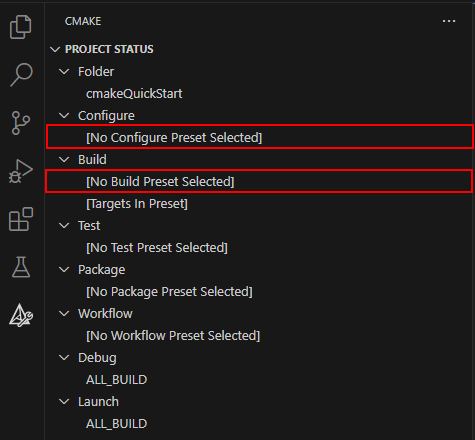
You can view the active configuration of presets in the Project Status in the CMake Tools view under the Configure and Build node. You can select these nodes at any time to set or change your Configure and Build presets.
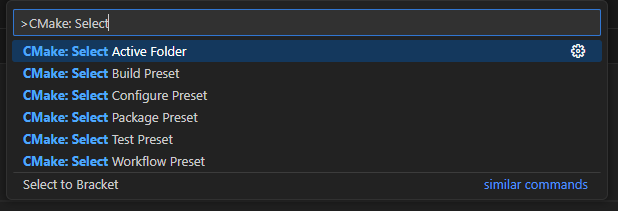
You can also set any of your presets by running the CMake: Select Configure Preset or CMake: Select Build Preset commands in the Command Palette (Ctrl+Shift+P).
Configure using CMake Kits
If your project does not have a CMakePresets.json file, you need to use kits. A kit represents a toolchain, which is the compiler, linker, and other tools used to build your project.
To scan for kits:
-
Open the Command Palette (
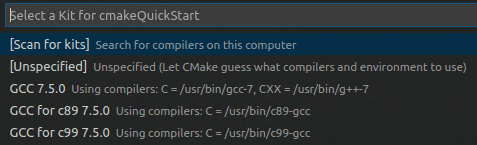
Ctrl+Shift+P) and run CMake: Select a Kit. The extension automatically scans for kits on your computer and creates a list of compilers found on your system. -
Select the compiler you want to use. For example, depending on the compilers you have installed, you might see something like:
The kit you selected previously is now shown in the Project Status section in the CMake Tools view.
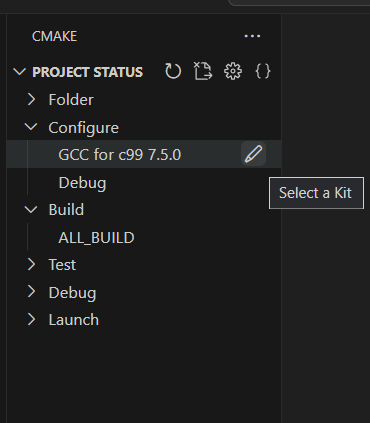
To change the kit, you can select the kit in the Project Status section in the CMake Tools view, or run the CMake: Select a Kit command again from the Command Palette. If you don't see the compiler you're looking for, you can edit the cmake-tools-kits.json file in your project. To edit the file, open the Command Palette (Ctrl+Shift+P) and run the CMake: Edit User-Local CMake Kits command.
Then, you'll need to select a variant.
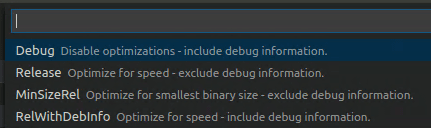
A variant contains instructions for how to build your project. By default, the CMake Tools extension provides four variants, each corresponding to a default build type: Debug, Release, MinRelSize, and RelWithDebInfo. These options do the following:
Debug: disables optimizations and includes debug info.
Release : Includes optimizations but no debug info.
MinRelSize : Optimizes for size. No debug info.
RelWithDebInfo : Optimizes for speed and includes debug info.
To select a variant, open the Command Palette (Ctrl+Shift+P) run the CMake: Select Variant command.

Select Debug to include debug information with your build.
The selected variant will appear in the Status bar next to the active kit.
CMake: Configure
Now that you've selected your configuration settings via presets or kits/variants, open the Command Palette (Ctrl+Shift+P) and run the CMake: Configure command to configure your project. This generates build files in the project's build folder using the configurations you selected.
Build hello world
After configuring your project, you're ready to build. Open the Command Palette (Ctrl+Shift+P) and run the CMake: Build command, or select the Build button from the status bar.

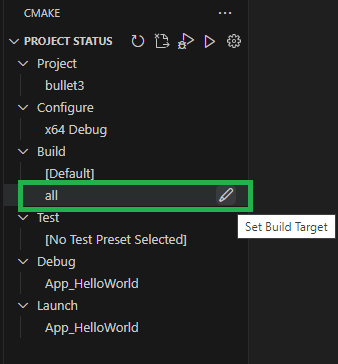
You can select which targets you'd like to build by selecting CMake: Set Build Target from the Command Palette. By default, CMake Tools builds all targets. The selected target will appear in the Project Status view in the CMake Tools sidebar underneath the Build node and can be set from there as well.
Debug hello world
To run and debug your project, open main.cpp and put a breakpoint on the std::cout line.
Then open the Command Palette (Ctrl+Shift+P) and run CMake: Debug. The debugger will stop on the std::cout line:
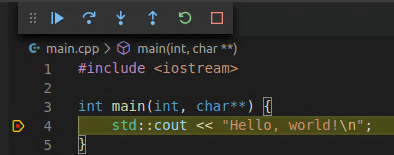
Go ahead and press F5 to continue.
You've now used the VS Code CMake Tools extension to use CMake to build and debug a C++ app on Ubuntu. The steps are the same for other platforms; the difference being how you install CMake and the compiler/debugger for the platform of your choice. For instructions on setting up compilers/debuggers for other platforms, see the following:
Next steps
- Explore the CMake Tools documentation
- Review the Overview of the C++ extension