Manage Jupyter Kernels in VS Code
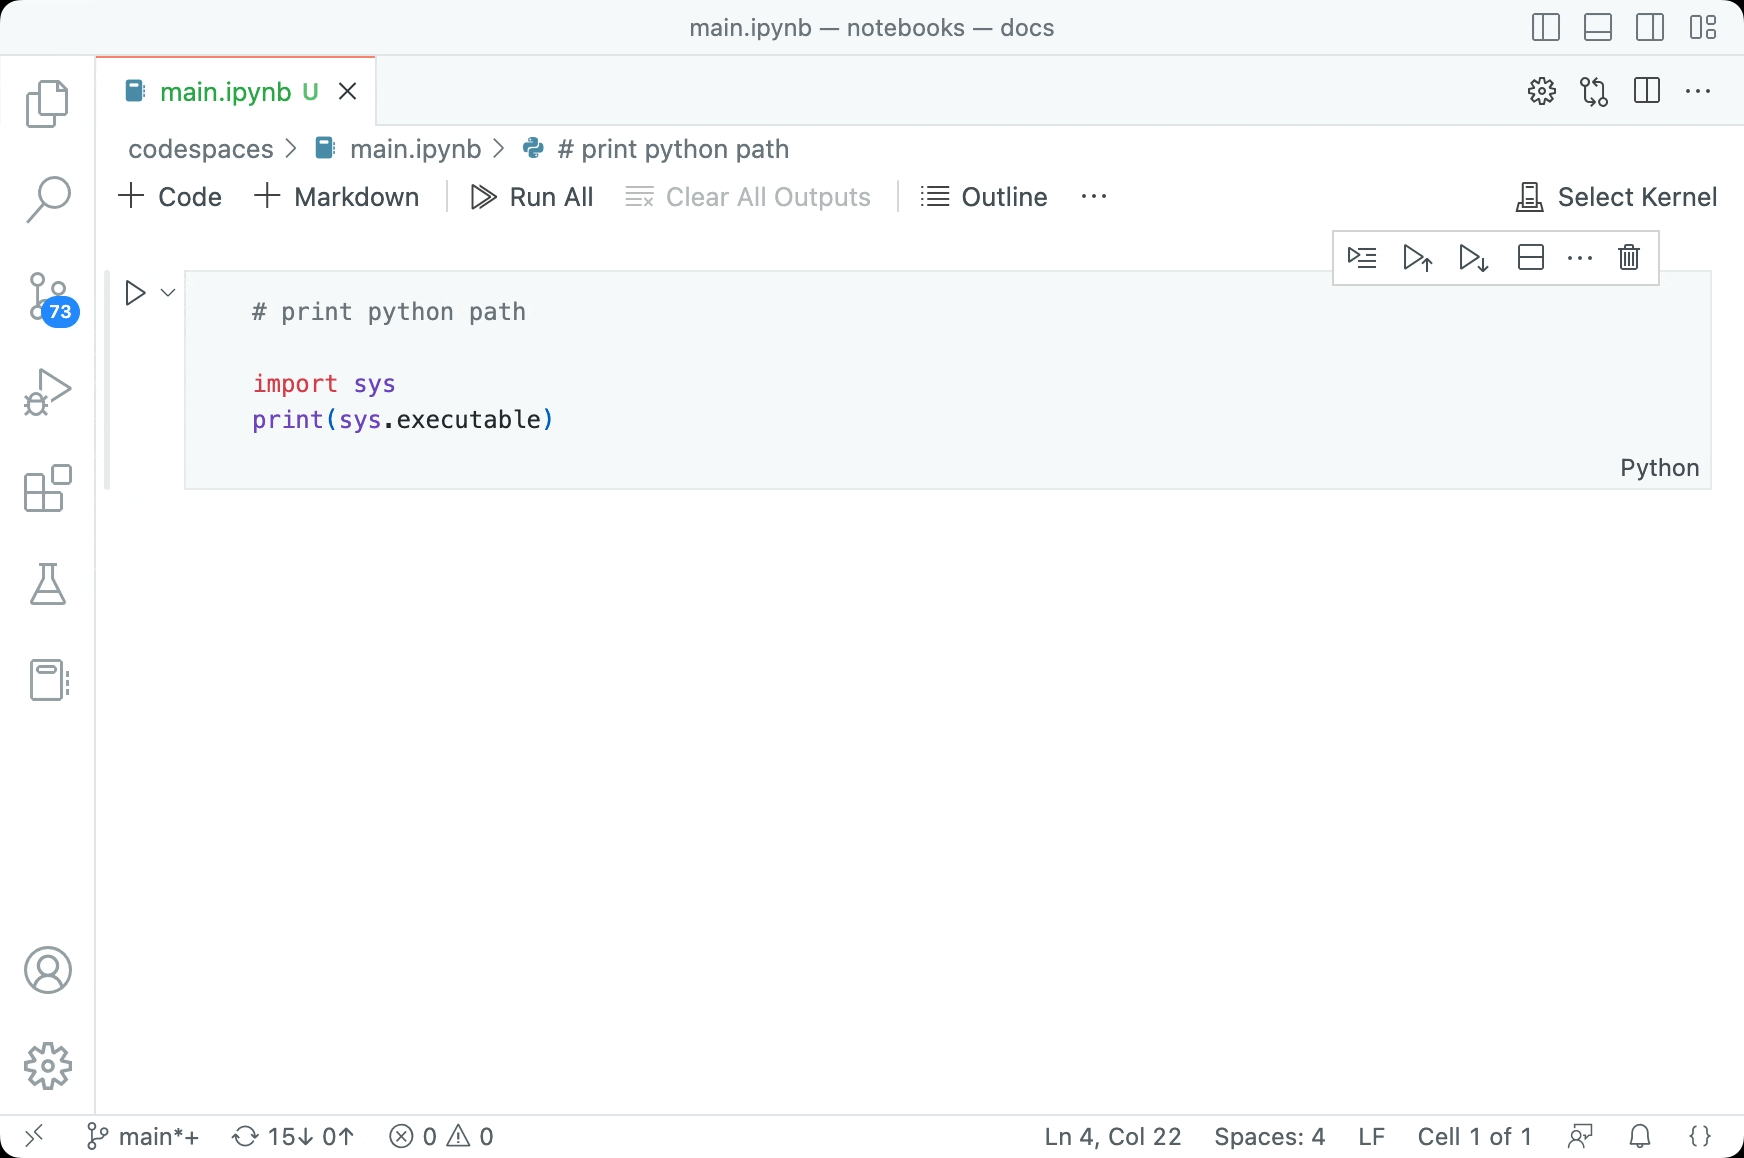
The Visual Studio Code notebooks' kernel picker helps you to pick specific kernels for your notebooks. You can open the kernel picker by clicking on Select Kernel on the upper right-hand corner of your notebook or through the Command Palette with the Notebook: Select Notebook Kernel command.
Once you open the Kernel Picker, VS Code shows the most recently used (MRU) kernel(s):

Note: In the previous versions of VS Code (version <1.76), VS Code used to show all available kernels by default.
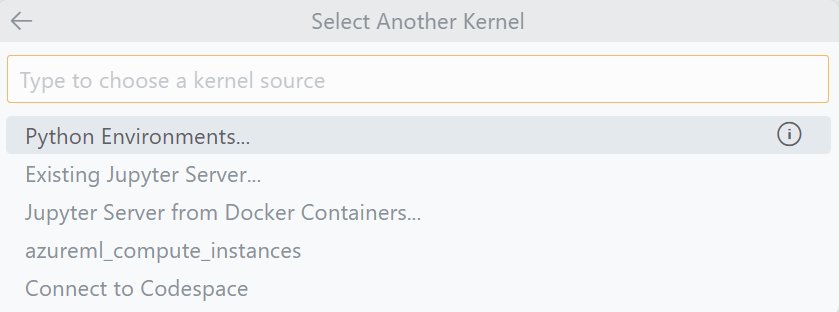
To see other kernels, you can click Select Another Kernel.... All existing kernels are categorized into kernel source options, with these sources supported by the Jupyter extension out of the box:
By default, VS Code will recommend the one you've previously used with your notebook, but you can choose to connect to any other Jupyter kernels as shown below. VS Code will also remember the last selected kernel for your notebooks, and will automatically select them the next time you open your notebook.
Jupyter Kernels
The Jupyter Kernels category lists all Jupyter kernels that VS Code detects in the context of the compute system it's operating in (your desktop, GitHub Codespaces, remote server, etc.). Each Jupyter kernel has a Jupyter kernel specification, or Jupyter kernelspec, which contains a JSON file (kernel.json) with details about the kernel—name, description, and CLI information required to launch a process as a kernel.
Python Environments
The Python Environments category lists the Python environments that VS Code detects from the compute system it's operating in (your desktop, Codespaces, remote server, etc.). It shows all Python environments grouped by type (for example, conda, venv)—whether the IPyKernel is installed or not.
Note: You do not need to install jupyter into the Python environment you want to use. Only the IPyKernel package is required to launch a Python process as a kernel and execute code against your notebook (
pip install ipykernel). Visit the Jupyter extension wiki to learn more.
Existing Jupyter Server
The Existing Jupyter Server category lists remote Jupyter servers previously connected. You can also use this option to connect to an existing Jupyter server running remotely or locally. Find the URL for your Jupyter server, for example, http://<ip-address>:<port>/?token=<token> and paste it in the Enter the URL of the running Jupyter server option to connect to the remote server and execute code against your notebook using that server.

When you're starting your remote server, be sure to:
- Allow all origins (for example
--NotebookApp.allow_origin='*') to allow your servers to be accessed externally. - Set the notebook to listen on all IPs (
--NotebookApp.ip='0.0.0.0').
Once connected, all active Jupyter sessions will appear on this list.
You can create a new session from the server's kernelspec by:
- Running the Notebook: Select Notebook Kernel command.
- Choose Select Another Kernel.
- Choose Existing Jupyter Server.
- Select your server.
Codespaces Jupyter Server
The Connect to Codespace category contains a special type of Jupyter server where you can use remote Jupyter servers powered by GitHub Codespaces, a cloud resource that you get up to 60 hours free each month. To use the Codespaces Jupyter server:
-
Install the GitHub Codespaces extension.
Note: If you're on VS Code for the Web (vscode.dev or github.dev), this extension is already installed for you. Also ensure that the Jupyter extension is also installed.
-
Go to the Command Palette (
kb(workbench.action.showCommands)), select Codespaces: Sign In and follow the steps to sign into Codespaces. -
Open the kernel picker by clicking on Select Kernel on the upper right-hand corner of your notebook, select Connect to Codespace.
Tip: If you don't see the Connect to Codespace option, go to the Command Palette (
kb(workbench.action.showCommands)), select Developer: Reload Window to reload the window and try again.
It is not required, but you can also manage all your Codespaces and Codespaces Jupyter servers on the GitHub Codespaces page. To learn more, you can read the GitHub Codespaces documentation.
Adding Kernel Options
If you do not have any Jupyter kernel or Python environment on your machine, VS Code can help you set up: go to the Command Palette (kb(workbench.action.showCommands)), select Python: Create Environment, and follow the prompts. You can also add additional ways to select kernels, by installing additional extensions like Azure Machine Learning.
Questions or feedback
You can add a feature request or report a problem by creating an issue in our repository, which is actively being monitored and managed by our engineering team.